4.2.Table
.Bảng
Mục lục nội dung






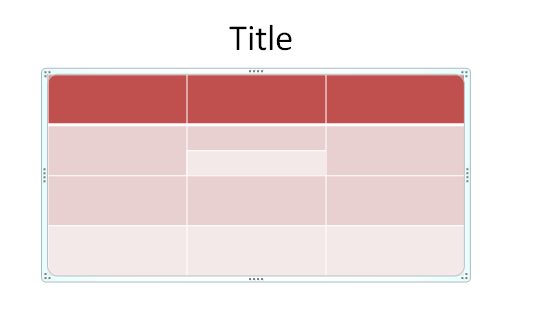
4.2.1. Insert a Table
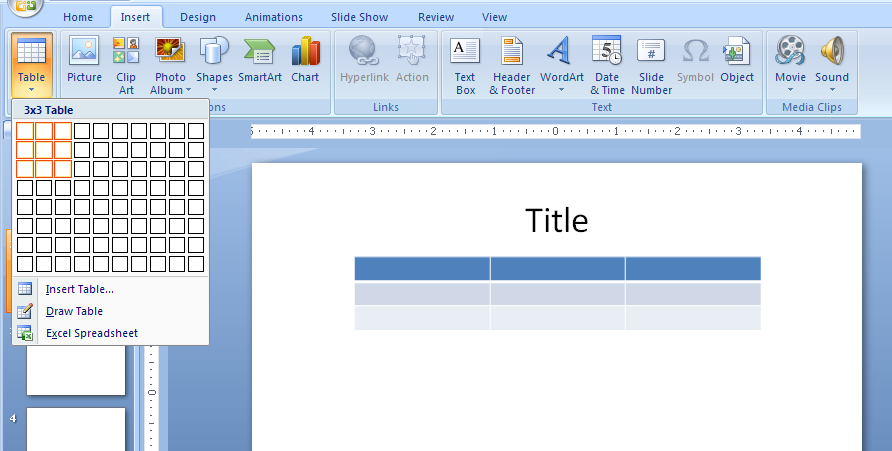
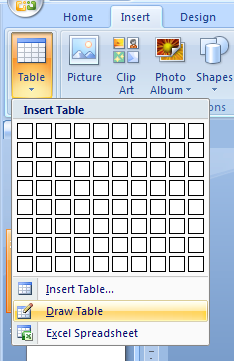
Click the Insert tab.
       Click the Table button,
       and then drag to select the number of rows and columns
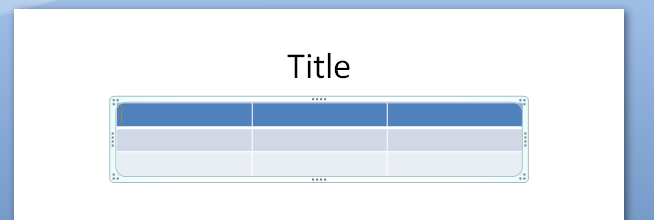
Release the mouse button to insert a blank grid in the document.
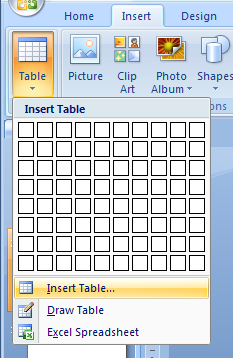
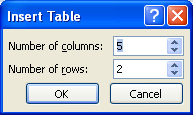
Or click Insert Table.
enter the number of columns and rows, and then click OK.
4.2.2. Draw a Table
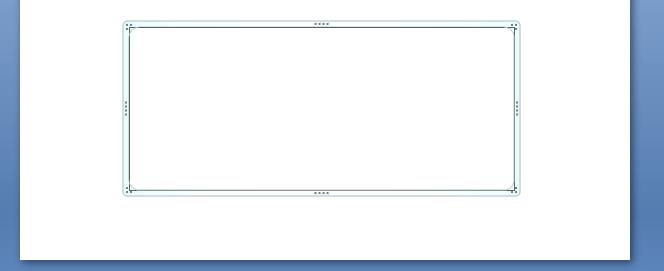
Click the Insert tab. Click the Table button, and then click Draw Table.
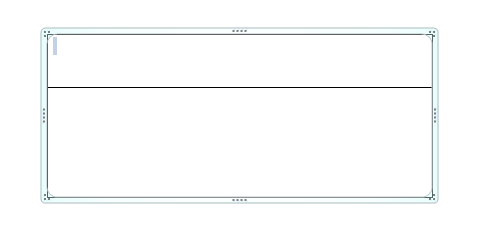
Drag the table to draw the table.
Drag horizontal lines to create rows and vertical lines to create columns.
4.2.3. Insert an Excel Table
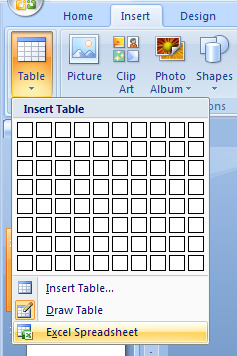
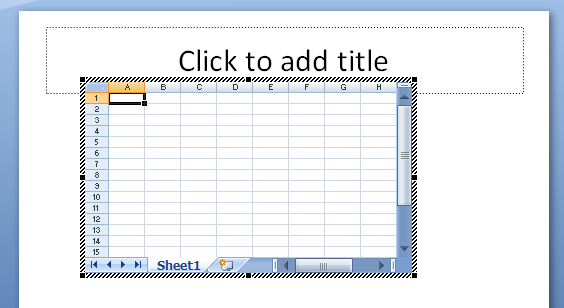
Click the Insert tab. Click the Table button, and then click Insert Excel Spreadsheet.
An Excel worksheet appears on your slide.
4.2.4. Insert and Delete Columns and Rows
Click in a table cell. Click the Layout tab under Table Tools.
       To insert columns and rows, click Insert Above, Insert Below, Insert Left, or Insert Right buttons.
To delete columns and rows, click the Delete button, and then click Delete Columns or Delete Rows.
4.2.5. Change Cells Margins and Table Sizes
Select the text. Click the Layout tab under Table Tools.
       To resize the table manually, drag a corner or middle resize handle.
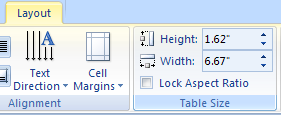
To set a specific size for the table,
       click the Table Size button, and then specify a height and width.
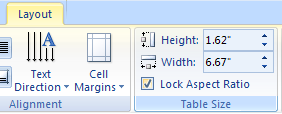
To keep the size proportional,
       select the Lock Aspect Ratio check box.
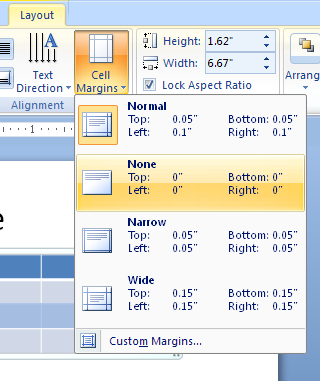
To change margins, click the Cell Margins button,
       and then click a cell size margin option:
       Normal, None, Narrow, Wide, or Custom Margins.
4.2.6. Adjust Row Height and Column Width
Move the pointer over the boundary of the row or column until the pointer changes into a resizing pointer.
       Drag the boundary to adjust the row or column.
4.2.7. Merge or split cells
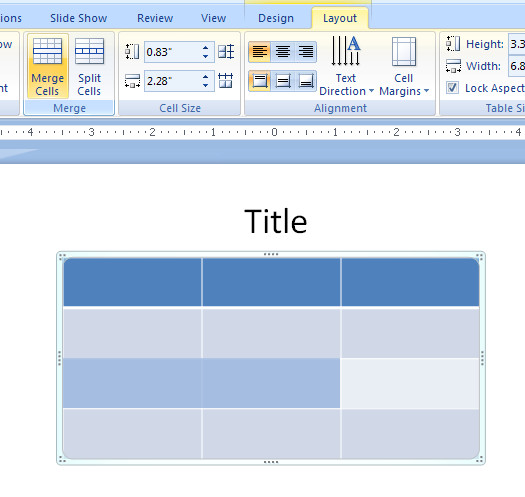
Select the cells, and then click the Merge Cells or Split Cells button in the Merge group on the Layout tab.
4.2.8. Align Text Within Cells, Rows, and Columns
Select the text. Click the Layout tab under Table Tools.
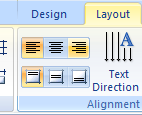
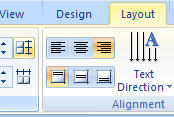
       To align text, click one of the alignment buttons in the Alignment group: Align Left, Center, Align Right, Align Top, Center Vertically, or Align Bottom.
To distribute, and then click Distribute Rows or Distribute Columns.
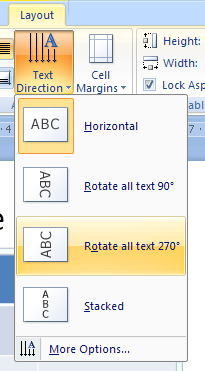
To change the direction, click the Text Direction button, and then select an option.
4.2.9. Format Table Columns/Rows
Click the table. Click the Design tab under Table Tools.
       Select First Column/Row to format the first column/row of the table as special.
       Select Last Column/Row to format the last column/row of the table as special.
       Select Banded Column/Row to format even columns/rows differently than odd columns.
4.2.10. Add Pictures to a Table
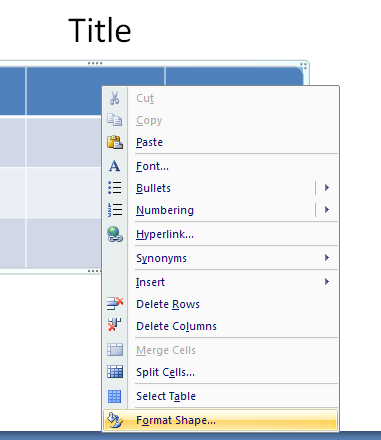
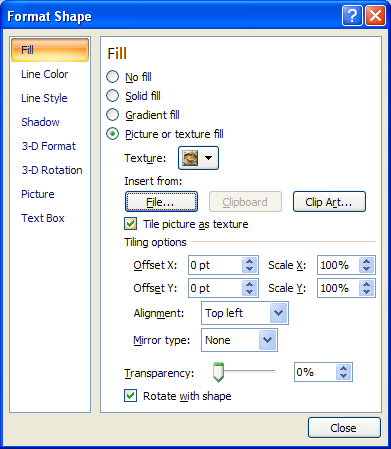
Right-click one of the selected cells.
       Click Format Shape.
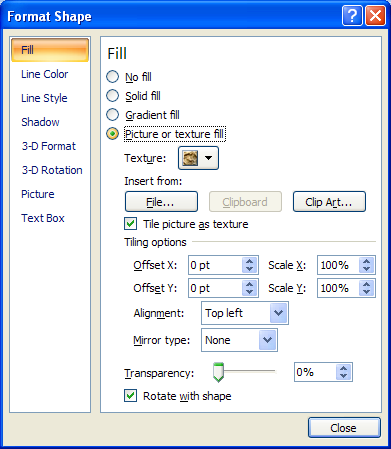
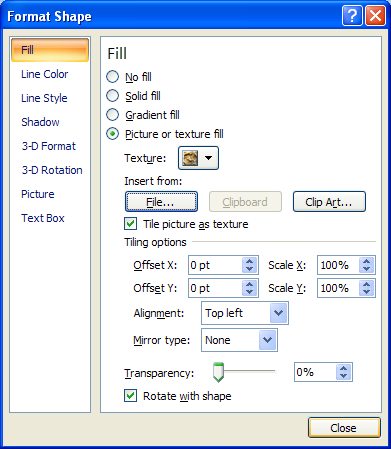
Click Fill. Click Picture or texture fill option.
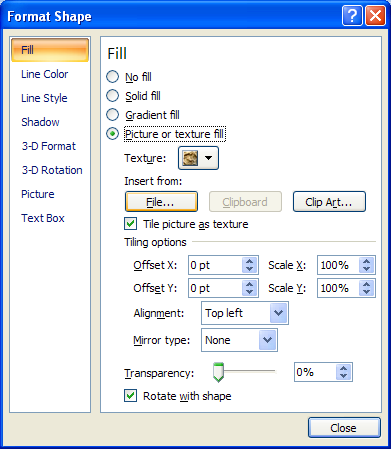
Click File.
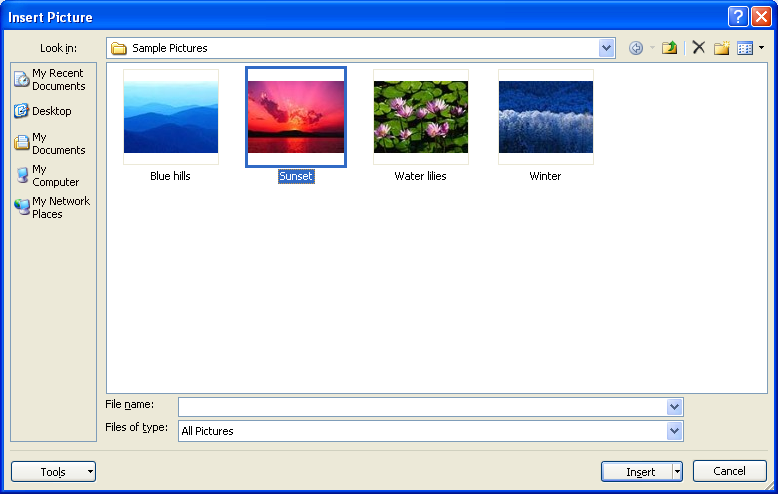
Click the file you want to insert. Click Insert.
Select or clear the Tile picture as texture check box.
Click Close.
4.2.11. Add or remove lines from a table
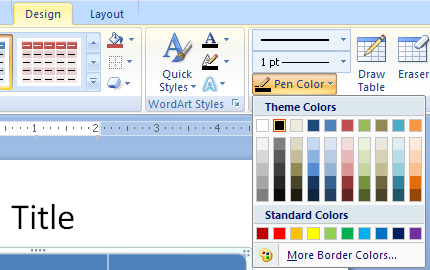
Select the table, and then click the Design tab under Table Tools.
       Select a pen style, weight, and color.
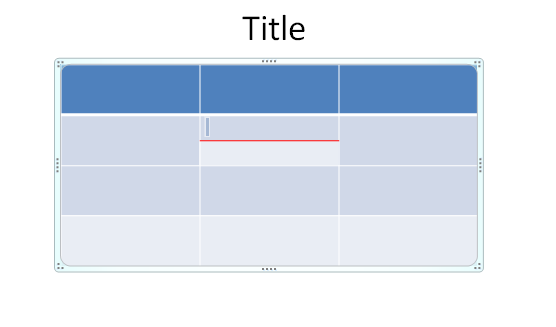
To add a line. Click the Draw Table button,
       and then drag the pencil pointer from one boundary to another to add cells.
To remove a line. Click the Eraser button,
       and then click on a border to erase a cell.
Press ESC when you're done.
4.2.12. Show or hide gridlines in a table
Select the table, click the Layout tab under Table Tools,
       and then click Show Gridlines to toggle it on and off.
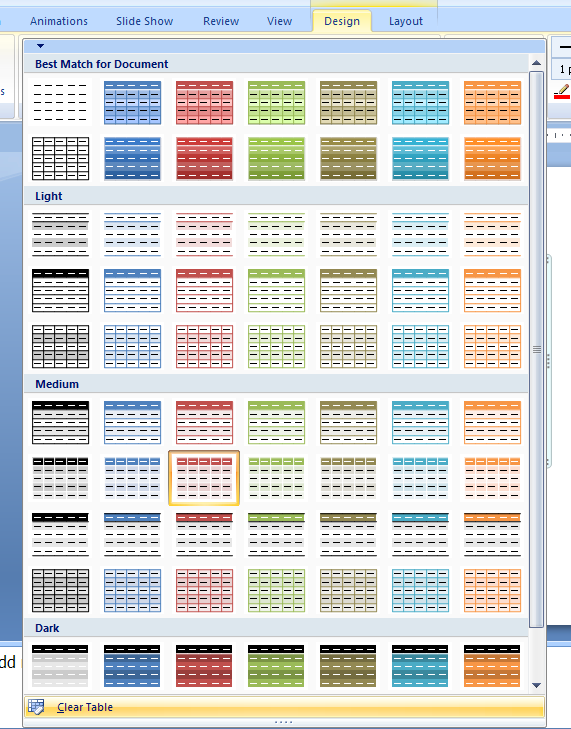
4.2.13. Add a Quick Style to a Table
Click the table.
       Click the Design tab under Table Tools.
       Click the Table Styles.
Click the style from the gallery to apply it.
4.2.14. Clear table formatting
Select the table, click the Design tab under Table Tools, click the More list arrow in the Table Styles group, and then click Clear Table.
4.2.15. Apply a Fill to a Table
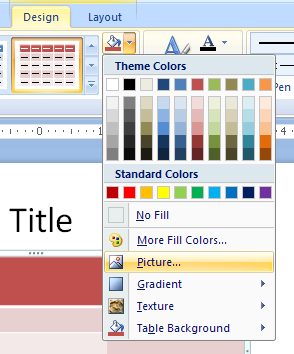
Click the table. Click the Design tab under Table Tools. Click the Shading button.
4.2.16. Apply an Outline to a Table
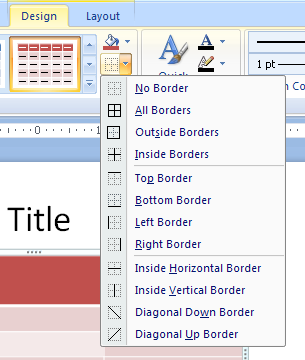
Click the table. Click the Design tab under Table Tools. Click the Border button.
       No Border, All Borders, Outside Borders,
       Inside Horizontal Border, Inside Vertical Border,
       Diagonal Down Border, Diagonal Up Border.
4.2.17. Apply an Effect to a Text
Click the table.
       Click the Design tab under Table Tools.
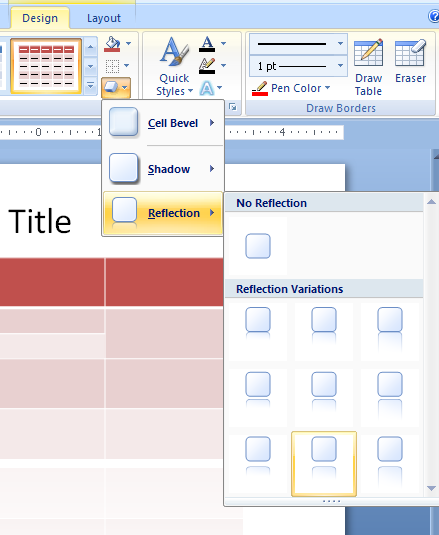
       Click the Tables Effects button, and then point:Cell Bevel, Shadow, Reflection.


0 Comments:
Đăng nhận xét